
Balloon Navigator
You can create new waypoints using first two buttons in app header.
First option, Add new, allows for advanced waypoint creation. It will open new window where you can enter details: name, description, multiple coordinates, altitude, elevation and radius (for circles).
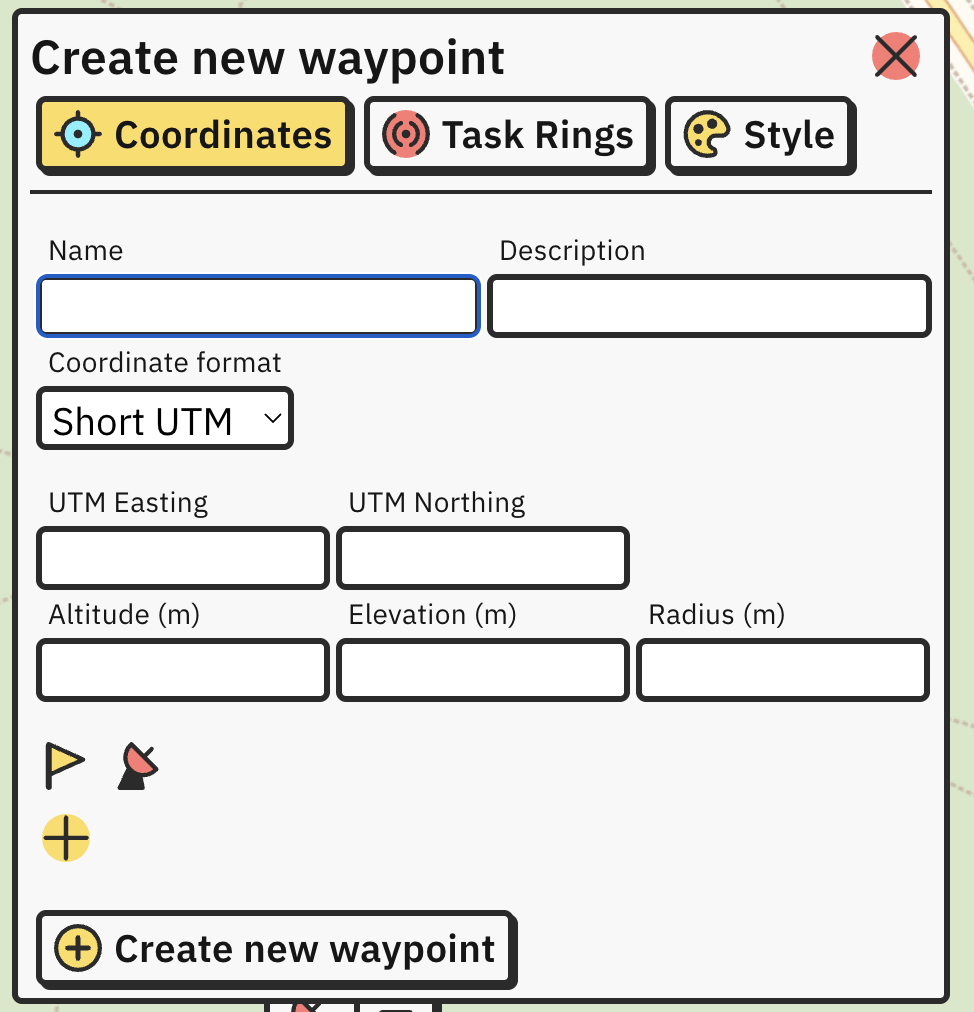
Coordinates can be switched between Decimal and Degrees Longitude/Latitude or UTM and short UTM formats with a dropdown input.
Short UTM will select zone based on current coordinates (if available) or where the map view is centered on.
Balloon Navigator uses LonLat coordinate format, which means Longitude (East-West, or X axis) goes before Latitude (North-South or Y axis). The same order applies to UTM coordinates (Easting before Northing).
Button with a yellow flag will find ground elevation on provided coordinates and fill the elevation field automatically. It requires internet connection to work, unless selected map is custom download, they have elevation data embedded and available offline. Elevation will be refreshed every time a coordinate changes, unless it was provided manually before.
Elevation data is a Pro feature and requires subscription. Learn more
Button with satellite dish icon will copy your current GPS position as coordinates for waypoint.
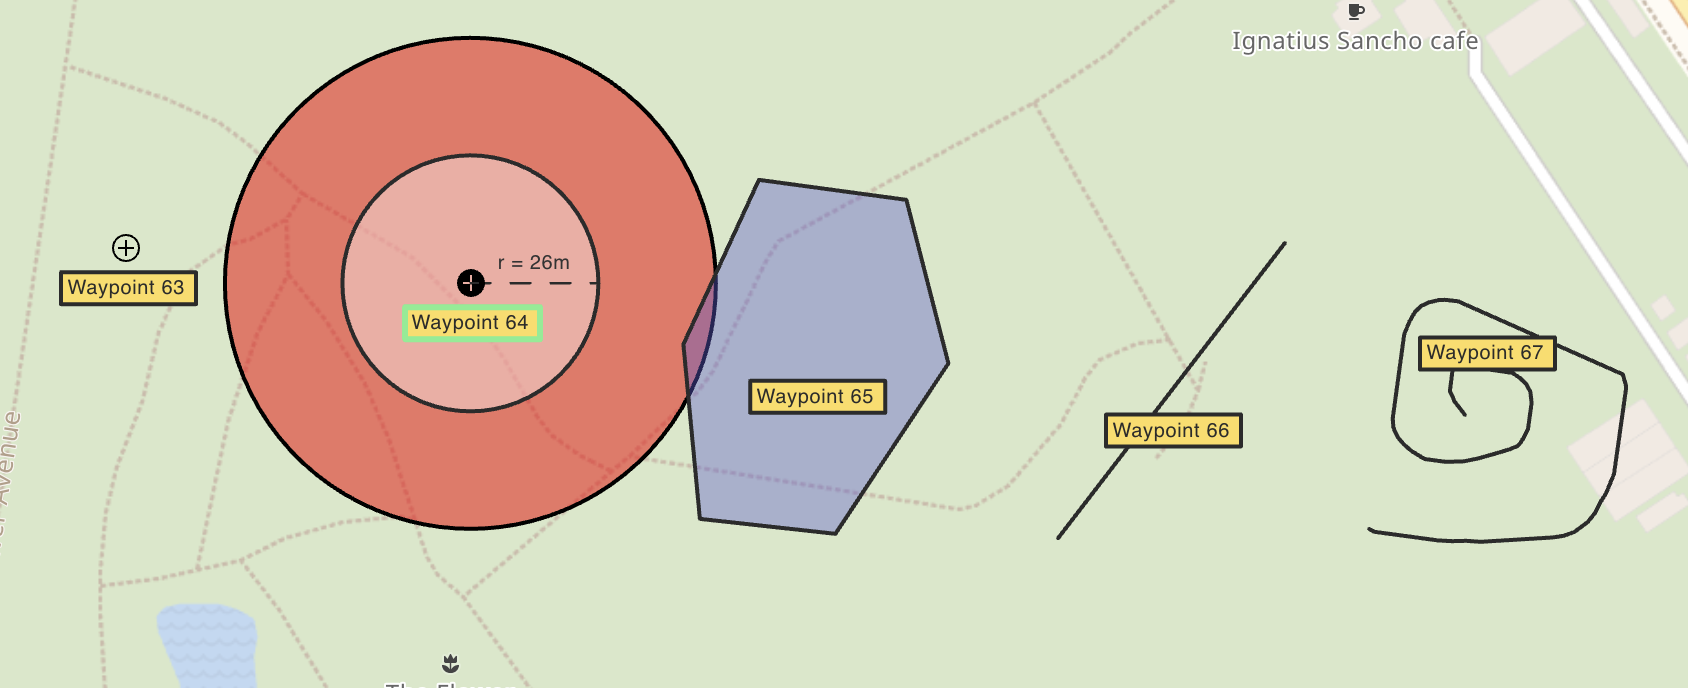
Below them, there is a button with [+] icon to create multi coordinate waypoints like lines or polygons.

Add and remove coordinates with [+]/[-] buttons. Switch between editing different coordinates using the list. If last coordinate equals first coordinate, created waypoint will be a Polygon. If not, the app will create a Line.
You can add Task Rings to every waypoint.
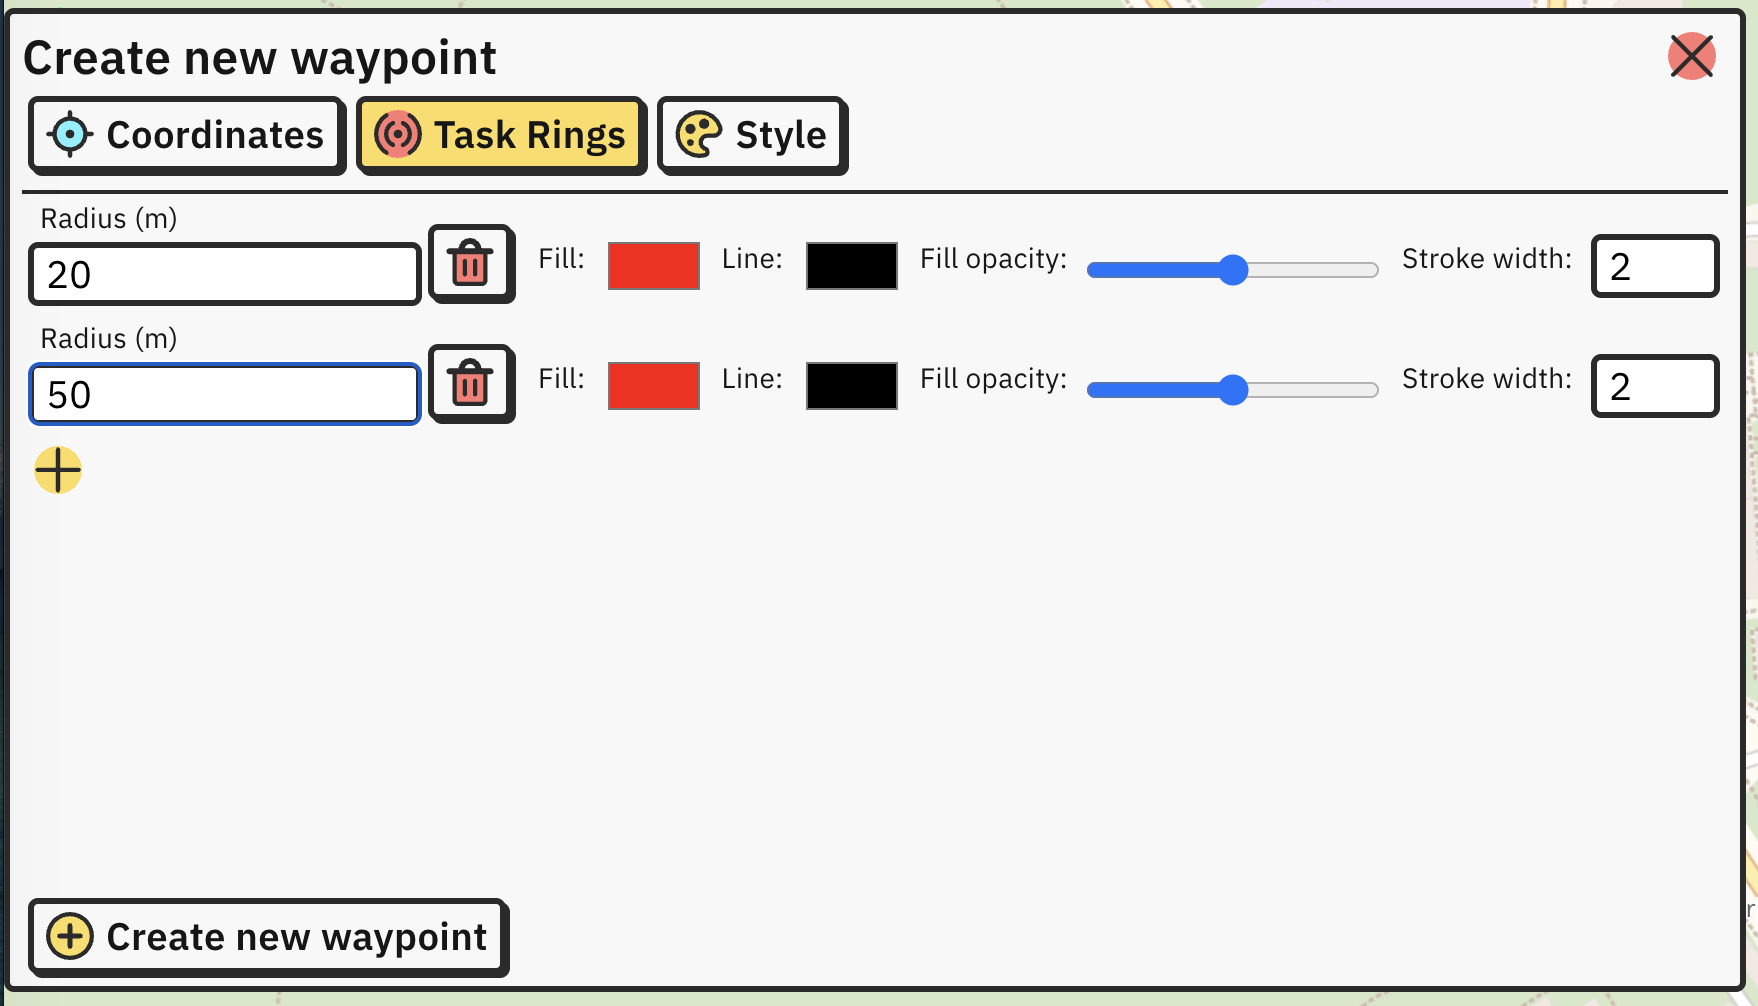
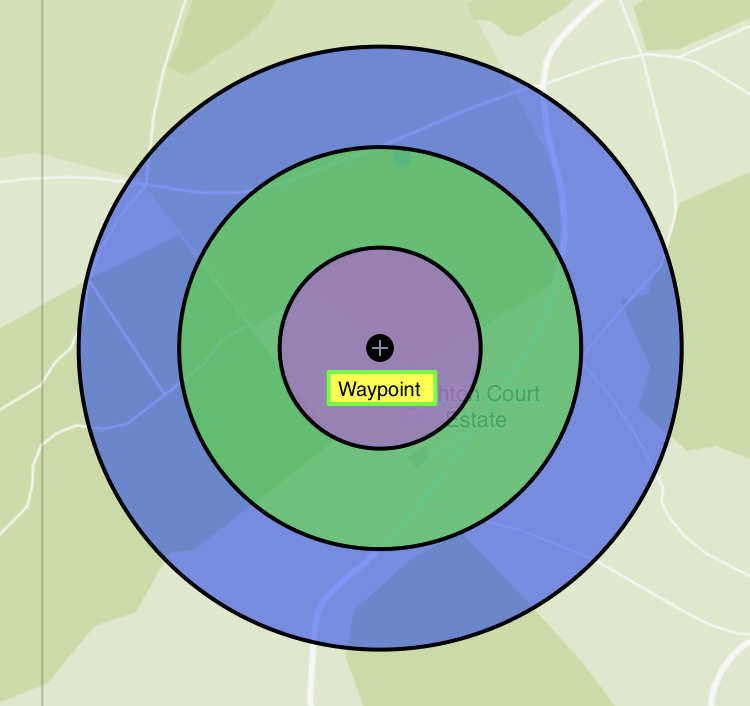
Add and remove task rings using [+] and trash can buttons. Each ring can be styled using style buttons on the right side. Rings are purely visual and do not influence navigation data. If you want to track distance to a ring, you need to add it as Radius in Coordinates tab.
Example of 3 task rings with different styles:
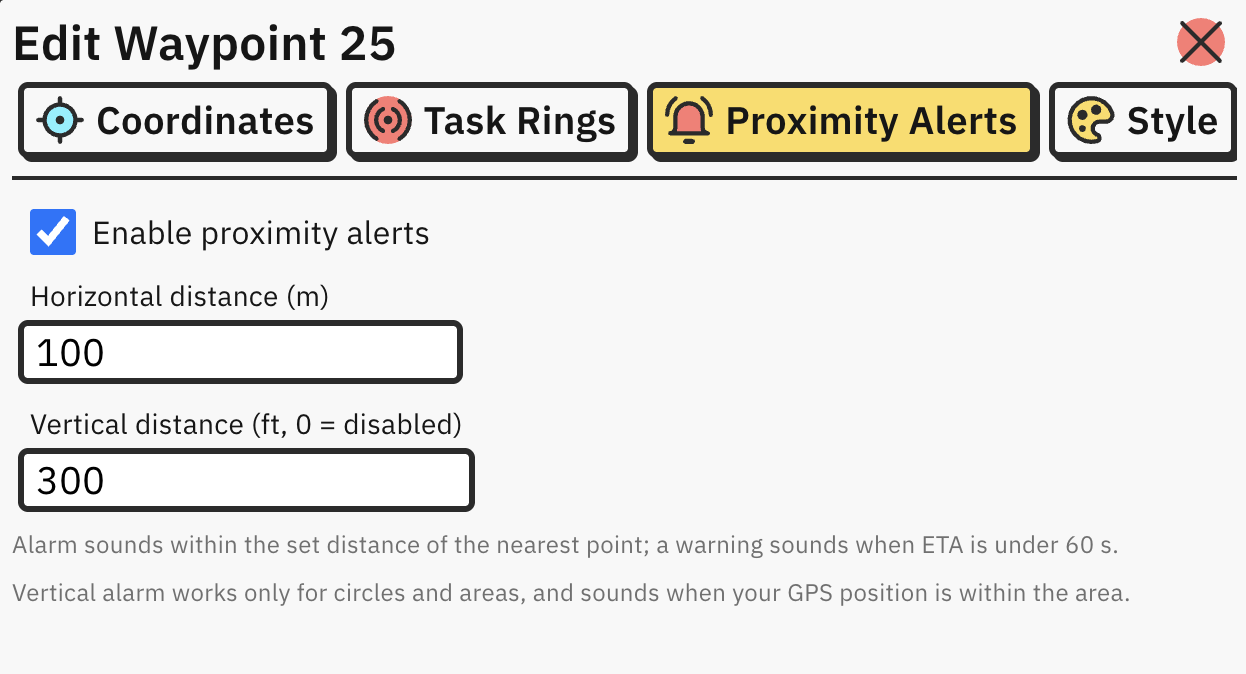
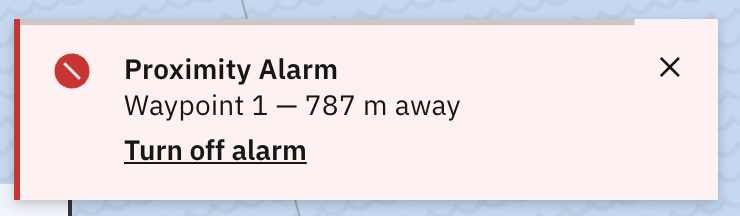
Proximity alerts trigger visual and audio warnings when you are getting close to waypoints and areas.
You can set horizontal and vertical distance separately. You will be warned when approaching set alarm distance and you are within 60 seconds of reaching it.
Alarm sounds when set limits are breached.
Several waypoint styling options are available:
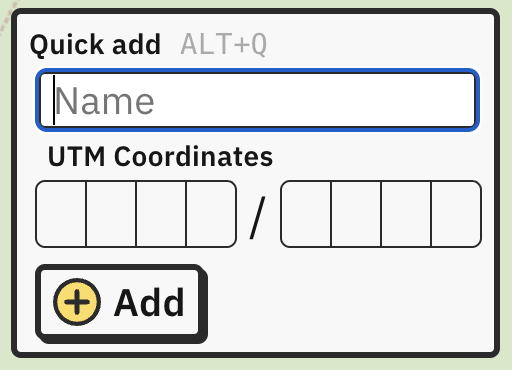
Click on black arrow to the right of Add New button or ALT + Q to open Quick Add menu.
It allows you to create simple waypoint using short UTM coordinates.
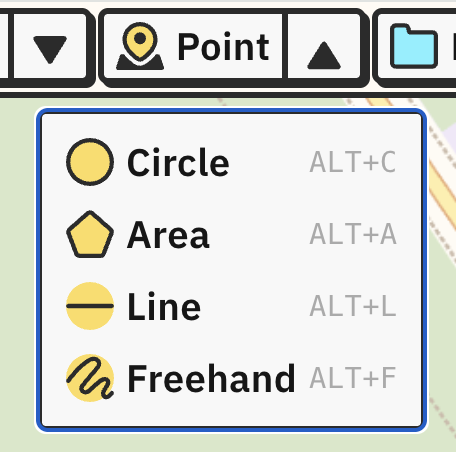
Click on Draw Point ALT + P to draw simple points on the map. Hold SHIFT when placing point to keep drawing enabled, that way you can mark multiple points faster.
ALT + C to draw circles. First click on the map will mark center, then move your mouse to create radius. Second click will finish drawing.
ALT + A to draw Areas. Area is similar to line, but it has to be closed (last segment meets first). Double click to finish drawing.
ALT + L to draw lines. Click on the map to keep drawing segments. Double click to draw last segment and finish.
ALT + F to draw freehand. Click to start drawing a line, click again to finish.
ALT + M to measure distances and areas. Click on the map to draw line segments — each segment shows its bearing and length, and points snap to existing waypoints just like other drawing tools. Double click to finish the line, or click back on the first point to close the shape and see its area. Measurements are not saved as waypoints: they disappear on reload, and you can remove one at any time by right clicking it and choosing Remove measurement.
Select Data ALT + D from top header to show a list of all waypoints in your database:
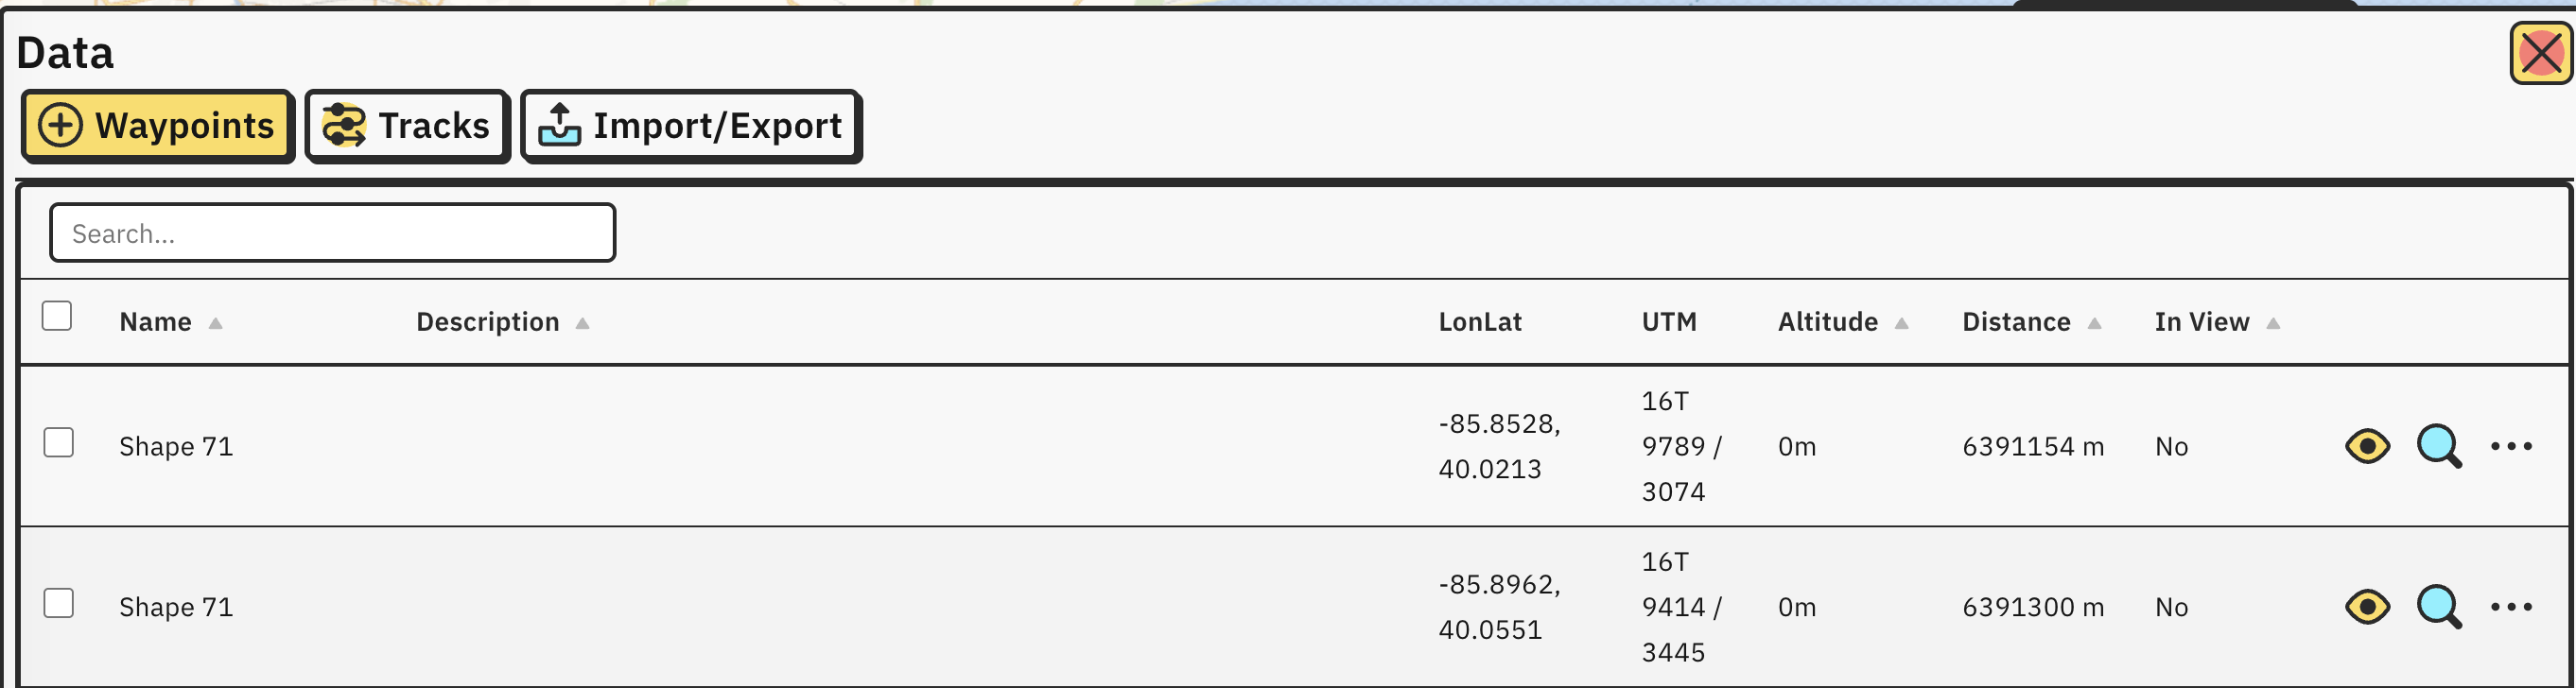
With buttons on the right, you can:
Click on a waypoint on the map to open the Selected panel. It shows waypoint details and navigation data, and lets you target, zoom, edit, delete or move the waypoint.
See the Selected waypoint panel for navigation metrics and controls.
See Move waypoints for keyboard shortcuts to move the selected waypoint on the map.
Set a waypoint as your target with the red target button in the Selected panel, or press ALT + X. The Target panel keeps its navigation data visible while you select other waypoints.
See the Target waypoint panel for details.
To edit a waypoint, click on green pen button on the bottom of selected waypoint panel or select Edit in waypoint list context menu. You can also press E to edit selected waypoint.
Window to edit works the same way as the one when creating new waypoint.
Short UTM zone is based on current waypoint coordinates or, if there are none, on where the map view is centered currently.
To delete, click red trashcan button on selected panel when waypoint is selected or select Delete from waypoint list context menu.
Tracks are saved automatically whenever GPS is enabled and position changes. Trackpoints are recorded on every GPS update (with minimum 500ms between updates), with coordinates, altitude and time.
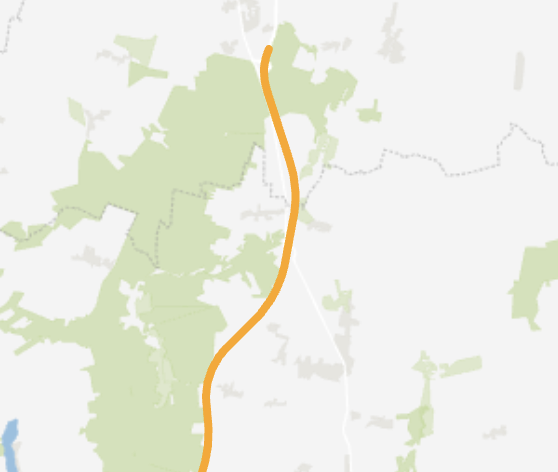
Tracks appear on map as orange line:
You can display list of all saved and imported tracks by opening Data ALT + D and selecting Tracks tab.