Overview
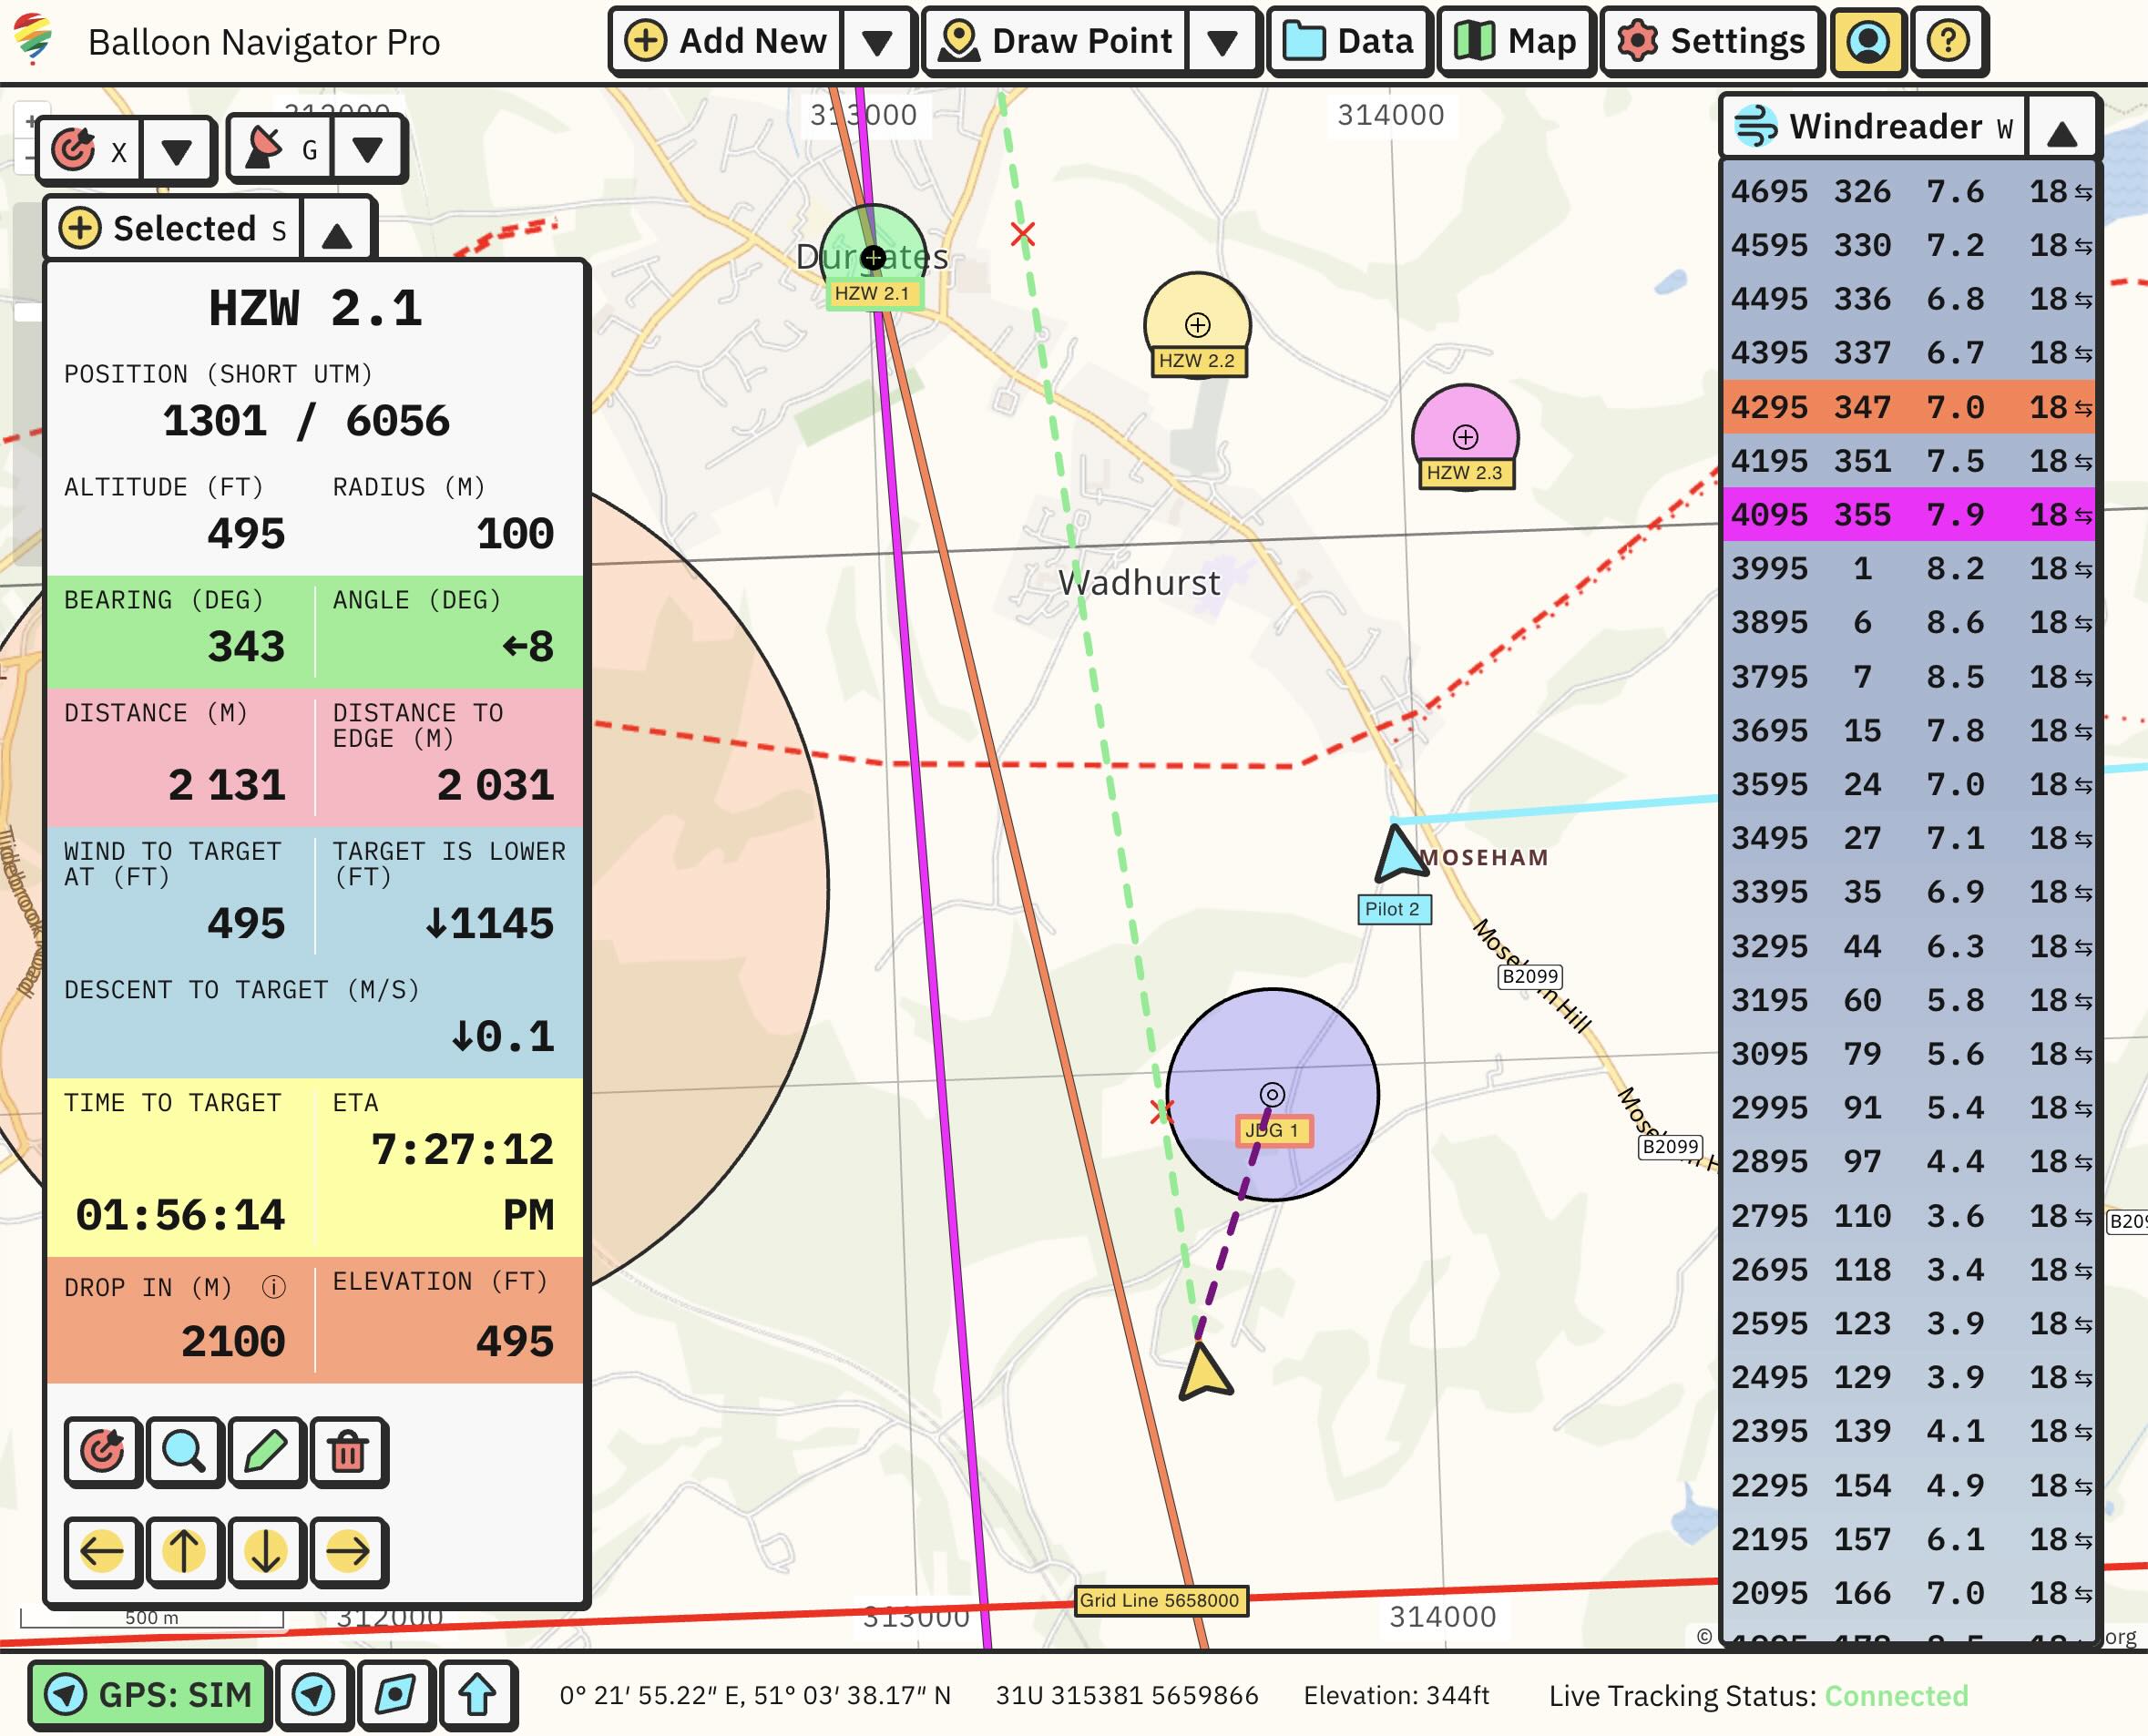
App window is divided into few main components. From the top:
This is the place where you control and access everything in Balloon Navigator. Click on buttons to open corresponding windows. You can expand secondary menu by clicking on black arrows on the right side of the button.
Map
Interactive map. Works like any other map software you know already, like Google Maps. You can draw new waypoints and select them, zoom around the map etc.
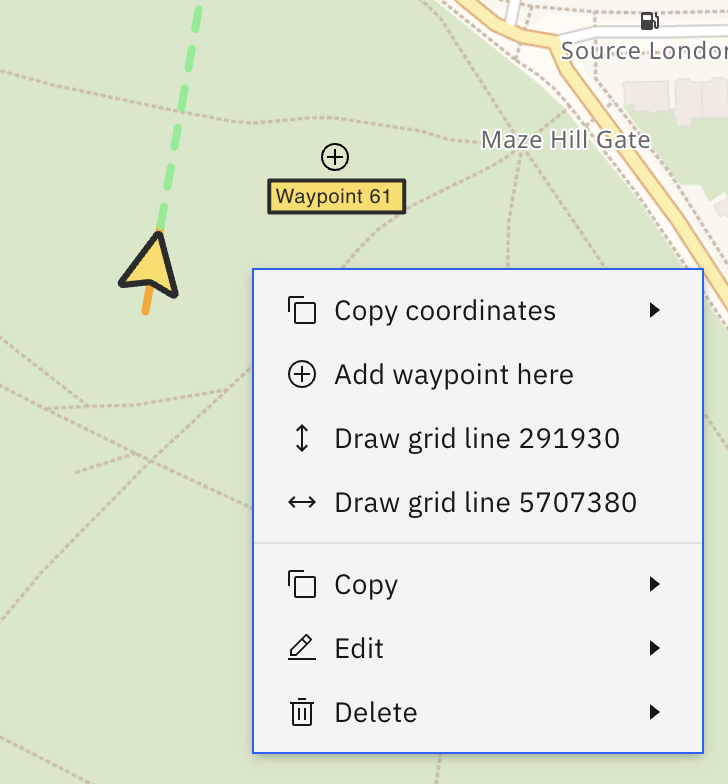
Right click on the map to open context menu, which provides multiple useful options and helpers depending on map state:
Panels
Panels are overlaid on map window and you can show/hide them with single keyboard click (W for Windreader, G for GPS, S for Selected waypoint, X for Target waypoint, T for Temperature and P for Flight Path) or by clicking black arrows in their title bar. They can be moved around the screen by dragging title bar.
- GPS panel shows data from your GPS device. Learn more
- Windreader keeps track of your flight on different altitudes. Learn more
- If you select any waypoint on map, its data will appear in the Selected panel. It shows everything you need to navigate to target. Learn more
- Target panel displays waypoint data you explicitly chosen to target from Selected panel. Learn more
- Temperature shows readings from a configured Bluetooth sensor. Learn more
- Flight Path simulates your descent through wind layers. Learn more
See the Data panels overview for controls shared by all panels.
GPS & View
At the footer, GPS button shows current status of GPS tracking. Click on it to quickly start/stop GPS connection. Learn more about GPS button
Next, three buttons:
- Follow position (F): if enabled, map follows your current GPS position
- Follow rotation (R): if enabled, map rotates along your current heading
- Set North (N): click to disable follow rotation and set map view to have North UP.
To the right of three buttons:
- Cursor position in both LonLat and UTM formats.
- Ground elevation at cursor (Pro users)
- Live Tracking connection status (Pro users)
Keyboard shortcuts
Most common actions can be activated from keyboard.
On MacOS, ALT is replaced by OPTION (⌥)
View:
- ↑↓←→: Move view in cardinal directions
- +/- or </>: Zoom in/out
- Right click + mouse drag (or CTRL + drag): Rotate and tilt view
Drawing:
- ALT + N: Create new waypoint
- ALT + Q: Quick add waypoint
- ALT + P: Draw Point on map
- ALT + C: Draw Circle on map
- ALT + A: Draw Area on map
- ALT + L: Draw Line on map
- ALT + F: Draw Freehand on map
- ALT + M: Measure distances and areas on map
- SHIFT: Hold when drawing, it will keep current action active so you can draw multiple waypoints
- ESC: Turn drawing mode off
Systems and menus:
- ALT + G: Enable/disable GPS
- ALT + D: Open Data
- ALT + S: Open Settings
- ALT + U: Open User Account
Interface and map view:
- W: Show/hide Windreader
- G: Show/hide GPS data
- S: Show/hide Selected
- X: Show/hide Target
- T: Show/hide Temperature (after configuring a sensor)
- P: Show/hide Flight Path
- F: Enable/disable Follow Map
- R: Enable/disable Follow Rotation
- N: Set map orientation to north
- C: Center view on selected waypoint
- Z: Zoom to selected waypoint
Waypoints:
- E: Edit selected waypoint
- ALT + X: Set selected waypoint as Target
- ALT + ↑: Move selected waypoint 10m North
- ALT + ↓: Move selected waypoint 10m South
- ALT + ←: Move selected waypoint 10m West
- ALT + →: Move selected waypoint 10m East
- ALT + SHIFT + ↑: Move selected waypoint 100m North
- ALT + SHIFT + ↓: Move selected waypoint 100m South
- ALT + SHIFT + ←: Move selected waypoint 100m West
- ALT + SHIFT + →: Move selected waypoint 100m East
Other:
- ALT + V: Force sync account
Interface settings
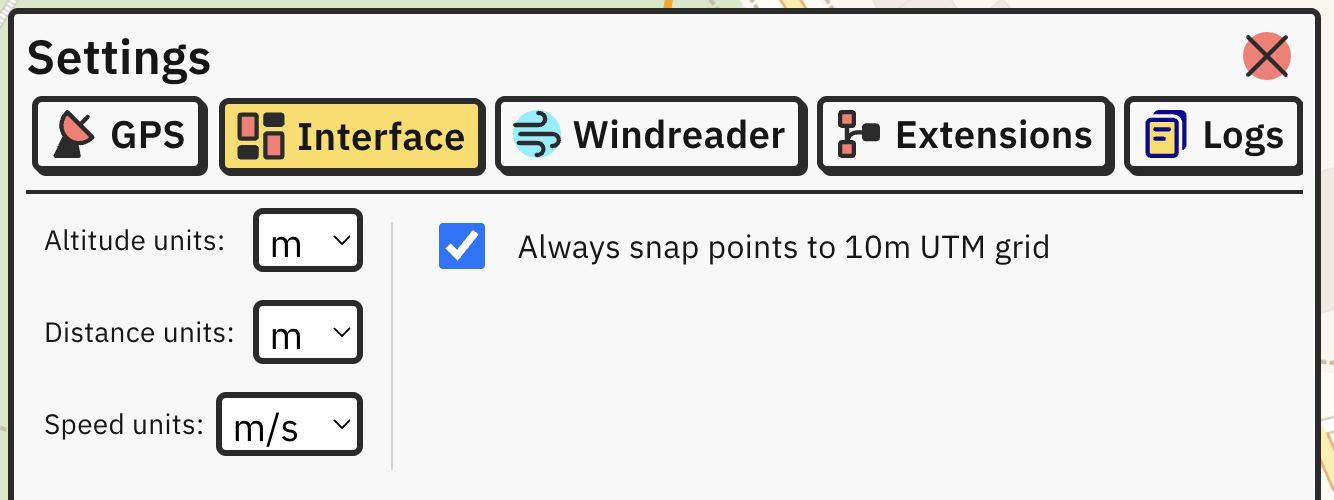
If you go to Settings -> Interface, you can change display units for altitude, distance and speed metrics.
If Always snap waypoints to 10m UTM grid is enabled, every waypoint will always be moved to nearest 10m precision UTM grid line. For example, new waypoint with UTM easting 476723, will be automatically moved to 476720 and 100% aligned with short UTM coordinates used in competitions.