
Balloon Navigator
To setup GPS connection, open Settings ALT + S from the left sidebar.
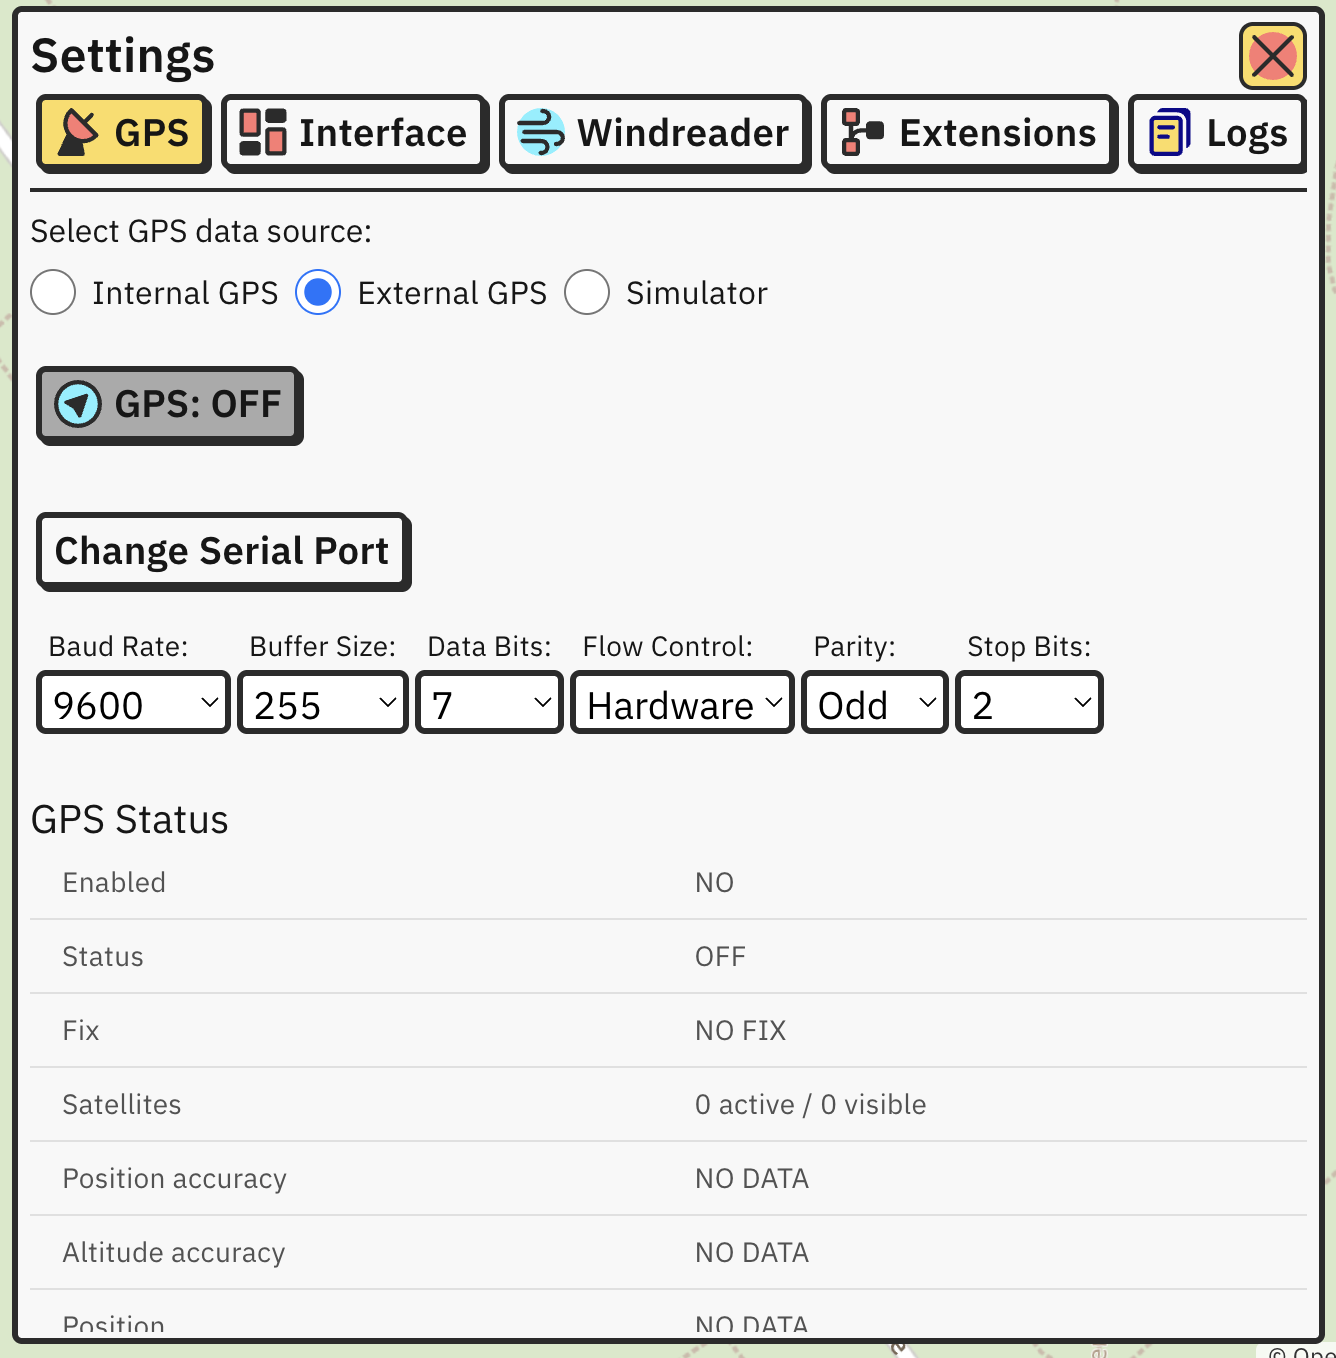
There are three ways to obtain your position in Balloon Navigator:
Use internal GPS if your device has built in GPS receiver (ex. tablet). However, most of the time internal GPS has low accuracy, not good enough for flying.
You can greatly improve mobile GPS accuracy by connecting external Bluetooth GPS such as Garmin GLO 2 - its signal will replace built-in GPS. It works out of the box on iOS and iPadOS. On Android, you will need additional app to to do that, ex. Bluetooth GNSS or GPS Connector
Balloon Navigator can receive NMEA data through serial ports. It’s the most common way of connecting GPS receivers to computers.
When you connect your GPS to computer, first, you have to select correct serial port where your receiver sends data by clicking Change Serial Port. Then, make sure connection settings are set properly. Default values should work with most receivers on the market. Your GPS manual should provide you with connection details, too.
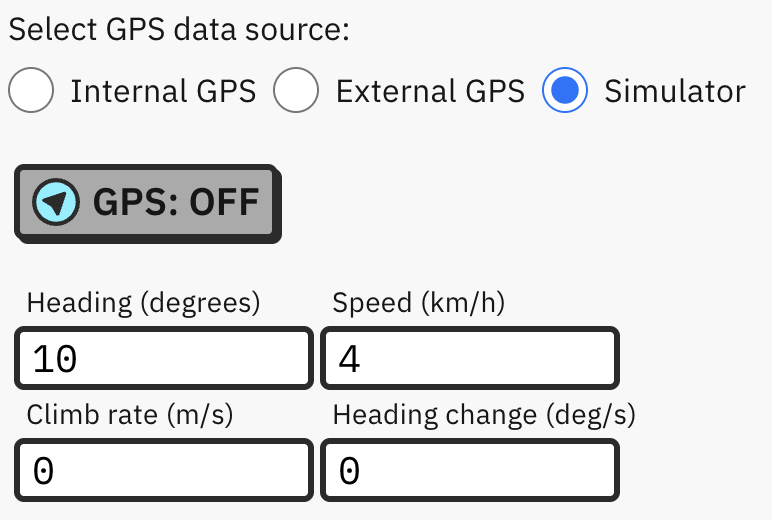
The last option is to simulate GPS by manually providing heading, speed, climb rate and heading change over time. Initial position is taken from view center. Simulator has 1Hz refresh rate and initial altitude of 500m (1640ft) AMSL.
When Simulator is enabled, GPS button will show GPS: SIM
BLS is supported on Windows and Android only. iOS, iPadOS and MacOS are incompatible with the technology BLS is using to send NMEA data.
Pair BLS using Bluetooth and use External GPS connection. Connect to “Balloon Live Sensor XXXX”, where XXXX is serial number of your receiver. Serial port settings are ignored in this case.
If External GPS connection on Android doesn’t work for any reason, you can try GPS mock function:
First, enable Developer Options on your phone/tablet. This is required for mock location feature which takes GPS data from BLS and translates it to your phone location.
Then you need to install GPS Connector app, or any other app which can mock location data from Bluetooth Classic device with Serial Port Profile (SPP).
Open GPS connector and go to settings (gear icon in top right).
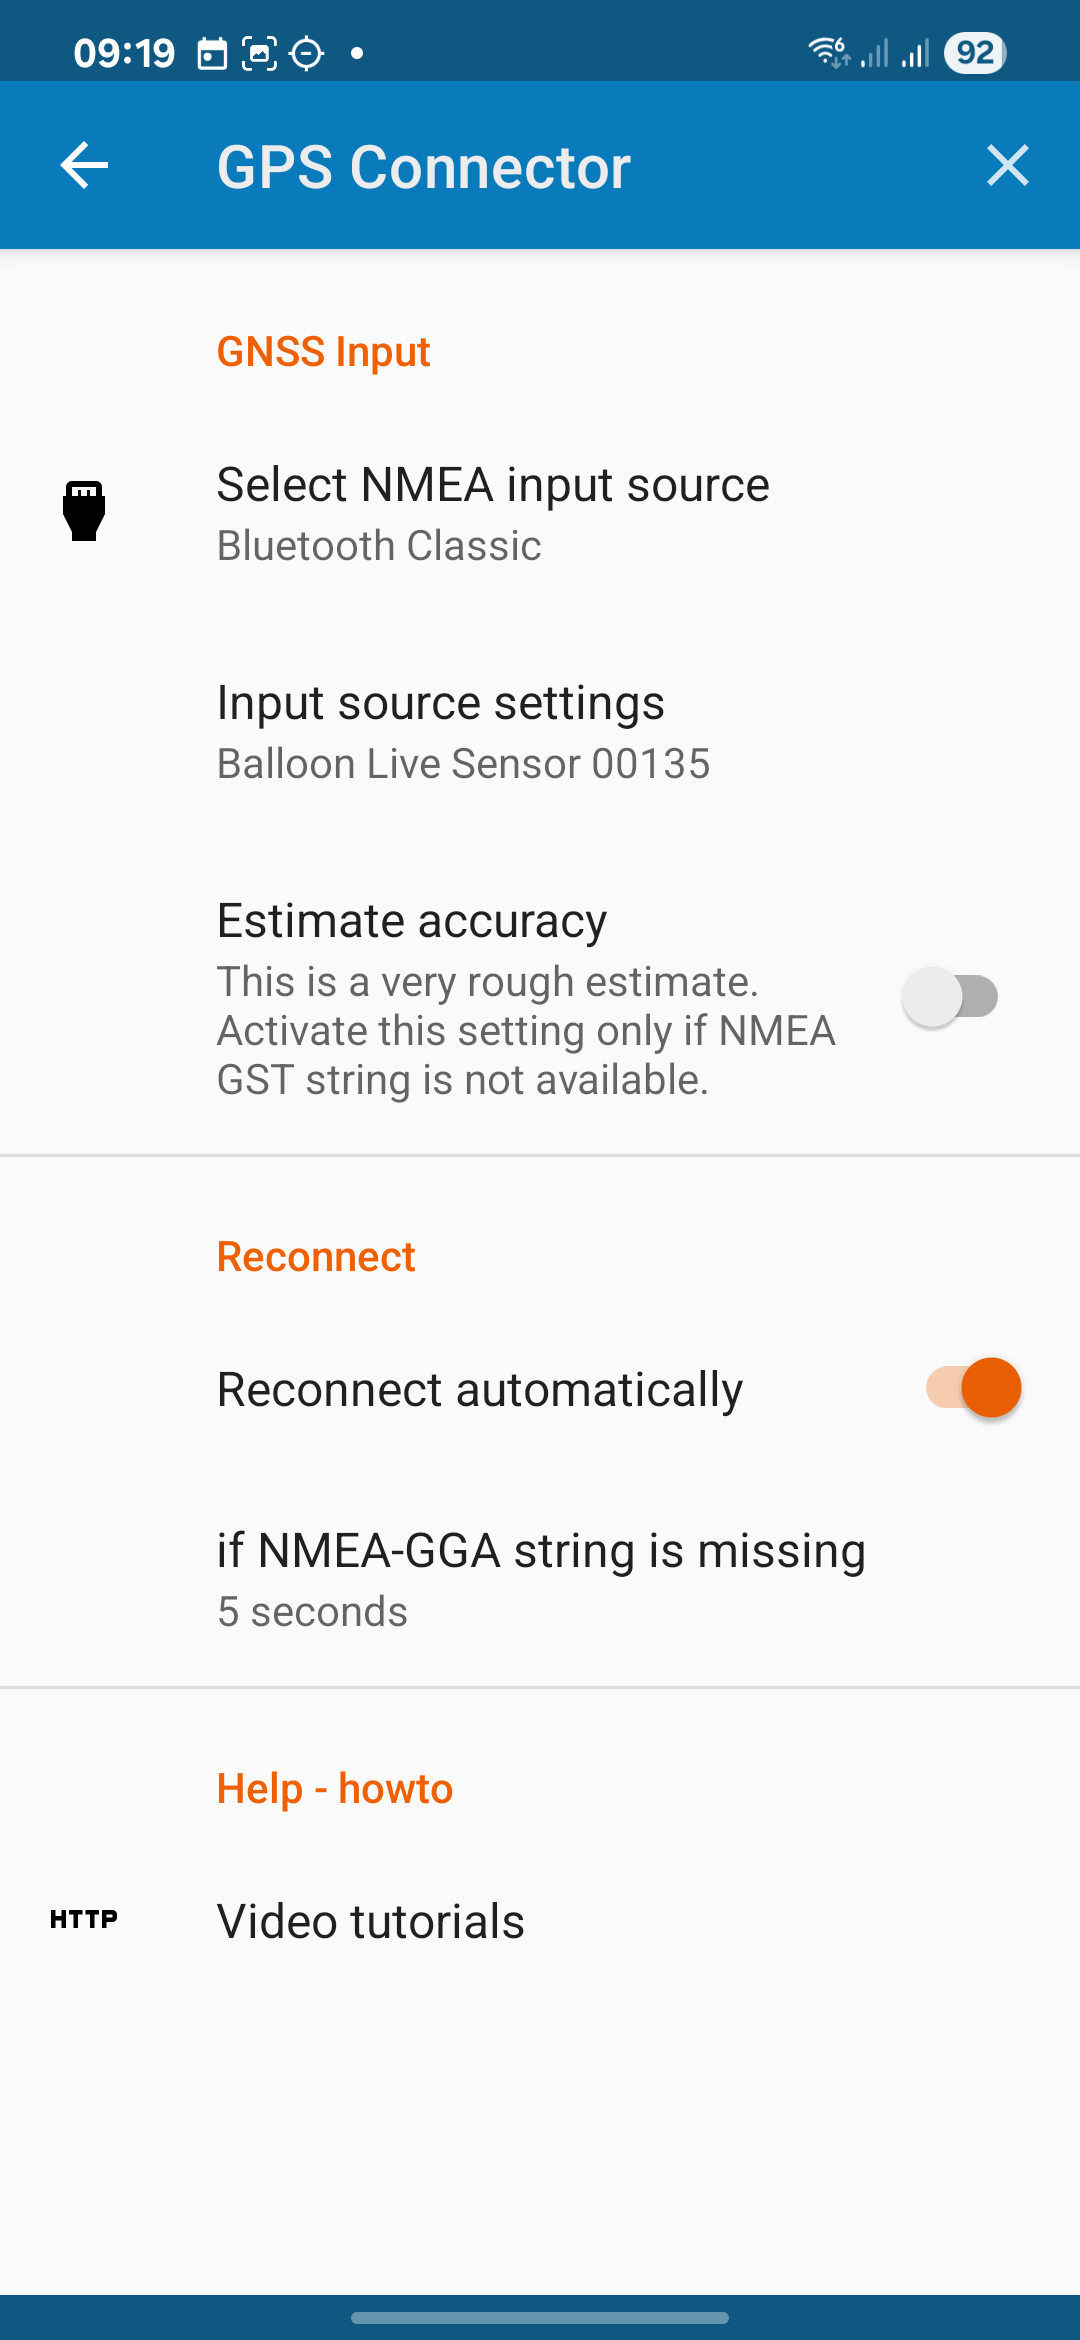
In GNSS Input settings, select Bluetooth Classic and choose your BLS from list of Bluetooth devices.
This is how your GNSS Input screen should look like:
In Mock location settings, enable Mock location, then click Developer options. It will take you to very long list of developer settings on your phone. Somewhere on the bottom of this list there is an option “Select mock location app” - click on it and select GPS Connector.
This is how your Mock location screen should look like:
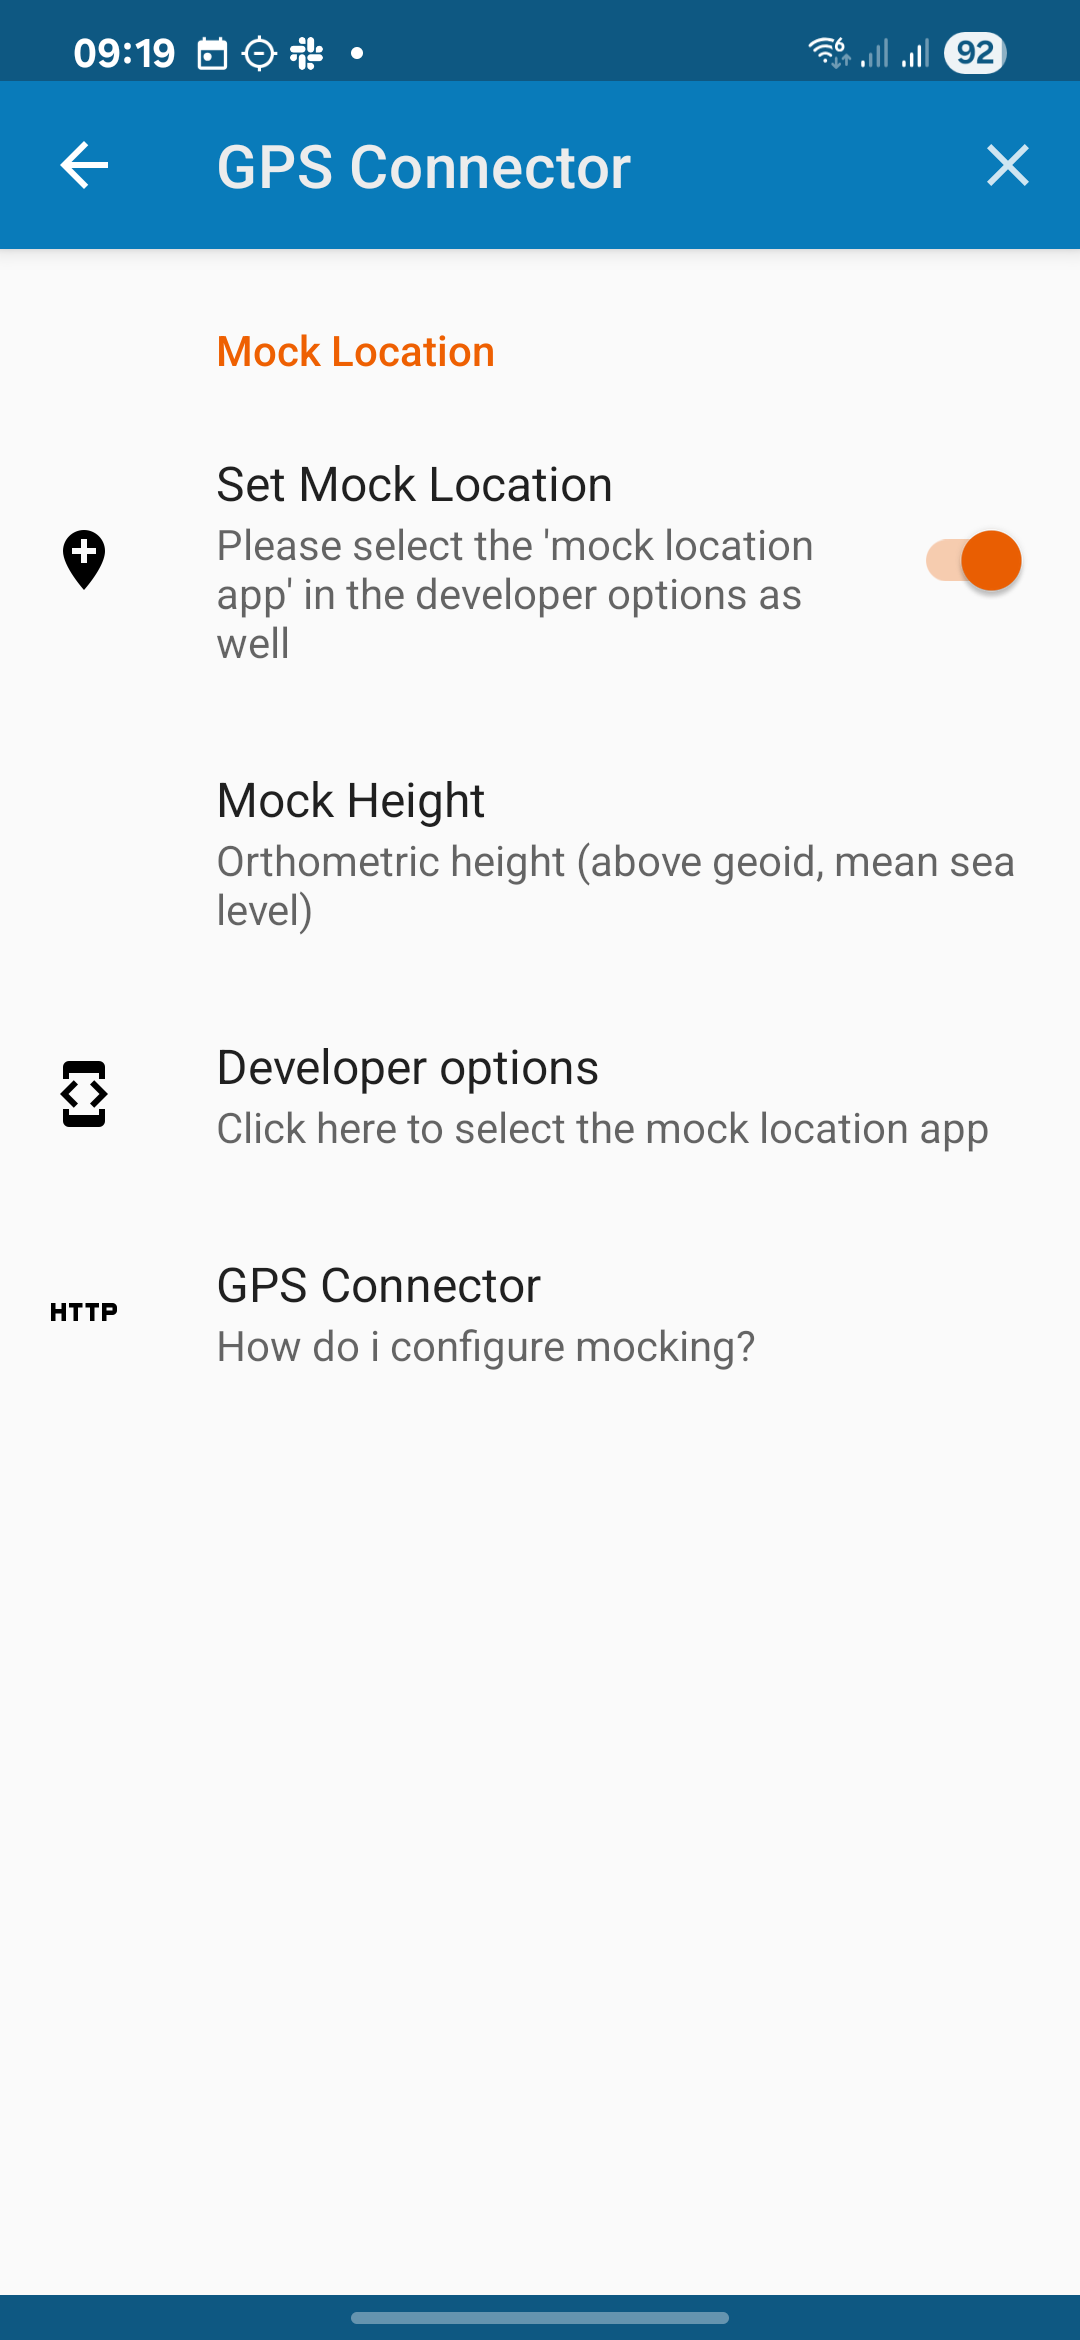
When GPS Connector is configured, start it first, wait for BLS connection and make sure it gets GPS fix, only then open Balloon Navigator and select Internal GPS connection.
Garmin USB connection using PVT communication is not supported (yet).
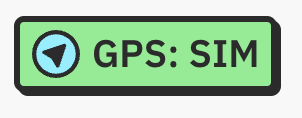
GPS Button is in the bottom left corner of the app. It shows current status of GPS tracking, and works as the ON/OFF button for GPS.
Click on GPS button to enable/disable GPS tracking
Available GPS statuses:
| Status | Description |
|---|---|
| ON | GPS is enabled and tracking |
| OFF | GPS is disabled and no tracking data is being sent |
| WAITING | GPS is enabled, but not receiving data |
| WAITING FOR FIX | GPS is enabled and is receiving data, but no fix has been obtained yet |
| NO FIX | GPS is unable to get position data |
| STALE | GPS is enabled, but did not receive new data for over 5 seconds |
| ERROR | Could not enable GPS (ex. serial port is not available) |
| SIM | GPS Simulator is enabled |
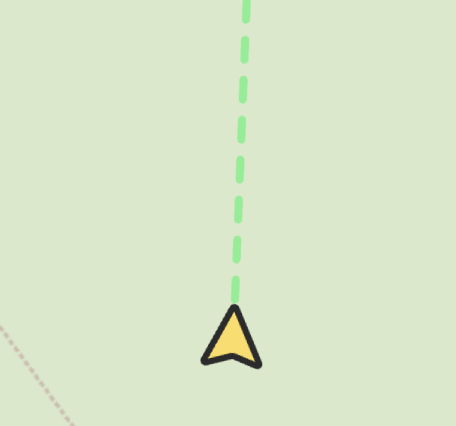
Current position is marked with yellow arrow with black outline, specifically on the tip. Green line starts from the arrow tip and goes 5 km forward.
Balloon Navigator uses longitude and latitude values for positioning. Position in UTM coordinate system is rounded to 1m accuracy, while short UTM position in GPS Data panel is rounded to 10m.